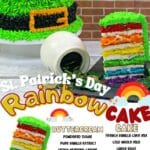
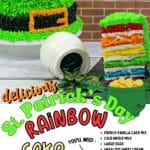
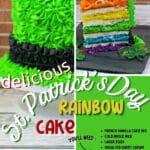
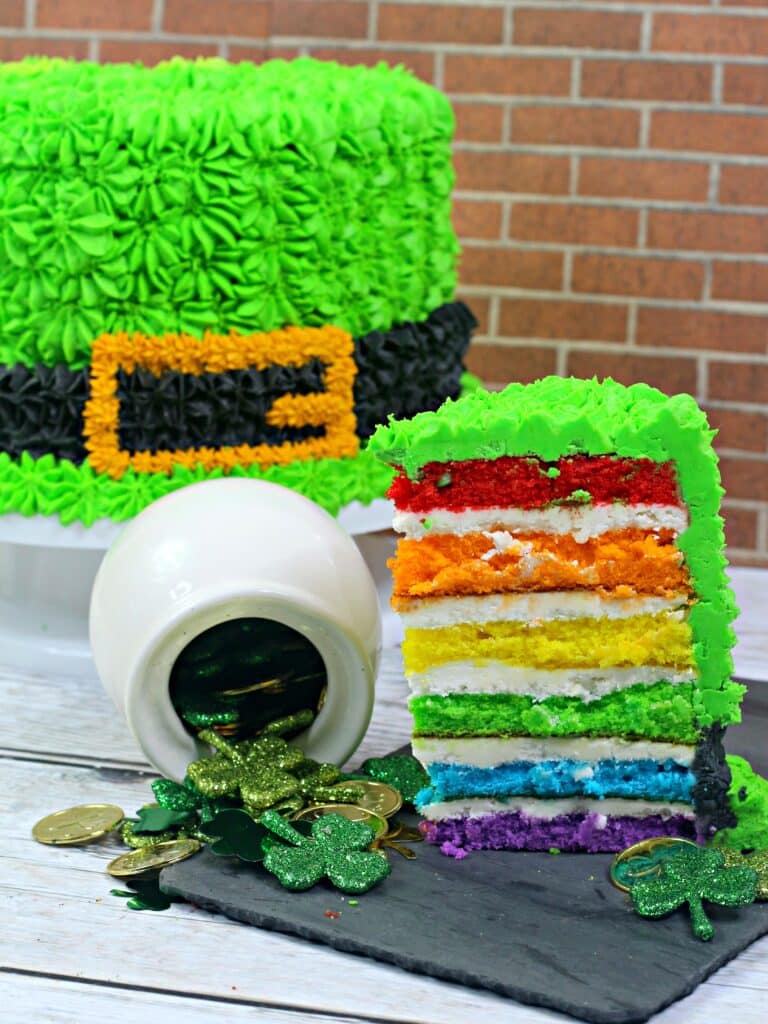
Delicious St Patrick’s Day Rainbow Cake

This easy Rainbow Cake is a fun cake for St. Patrick’s Day, and we know you are just going to love it. And if you change the icing, it is a perfect rainbow cake for any occasion! Our step-by-step, detailed instructions make this a simple recipe to make, although there are lots of steps! However, it really is not complicated, you might even get the kids to help with this one. But for St. Patty’s Day, grab your favorite beverage, sit down, and enjoy a scrumptious slice of the rainbow, even if you don’t have a pot of gold to go with it.
For this recipe, you will need to have several different accessories. They are linked below.
Ingredients for the Rainbow Cake
Makes one 9-inch 6-layer cake
Ingredients:
3 boxes of French vanilla cake mix
3 cups cold whole milk
9 large eggs
1 1/2 Cups unsalted sweet cream butter, softened (3 sticks)
6 nine-inch round cake pans
6 twelve-inch round cake board
Red, Orange, Yellow, Green, Blue, and Purple food coloring
Pam baking spray
6 medium size mixing bowls
Cake leveler
How to Make a Rainbow Cake
- Preheat oven to 350 degrees and spray the cake pans with baking spray.
- In a large mixing bowl, mix together cake mix, milk, eggs, and butter until combined and smooth.
- Split the batter evenly between the 6 mixing bowls.
- Add a few drops of each color into their own bowls. Mix until colors are combined. (Super fun for little helpers!)
- To make the rainbow cake layers, we have to use several different colors of food coloring at the same time. Pour the red batter into one cake pan, the orange batter into the second cake pan, the yellow batter into the third cake pan, and so on with the remaining colored batter and cake pans.
- Bake the pans in the preheated oven for 21-25 minutes or until a toothpick comes out clean.
- Allow cakes to cool completely on the counters.
- Using the cake leveler, cut the domes off of each cake to create even slices and make frosting easier.
Vanilla Frosting for the Rainbow Layer Cake
3 cups unsalted sweet cream butter, softened
8 cups powdered sugar
3 tsp pure vanilla extract
5 tbsp heavy whipping cream
Kelly (or this professional grade food coloring gel) Green Gel Food Coloring
Black Gel Food Coloring
Gold Gel Food Coloring
3 disposable piping bags, 1 fitted with a large star tip, 1 fitted with a medium star tip and 1 fitting with a small star tip
1 medium ice cream scoop
Using a standing mixer, beat together all ingredients until smooth and stiff peaks form, about 5-7 minutes.
Assembling the Rainbow Cake
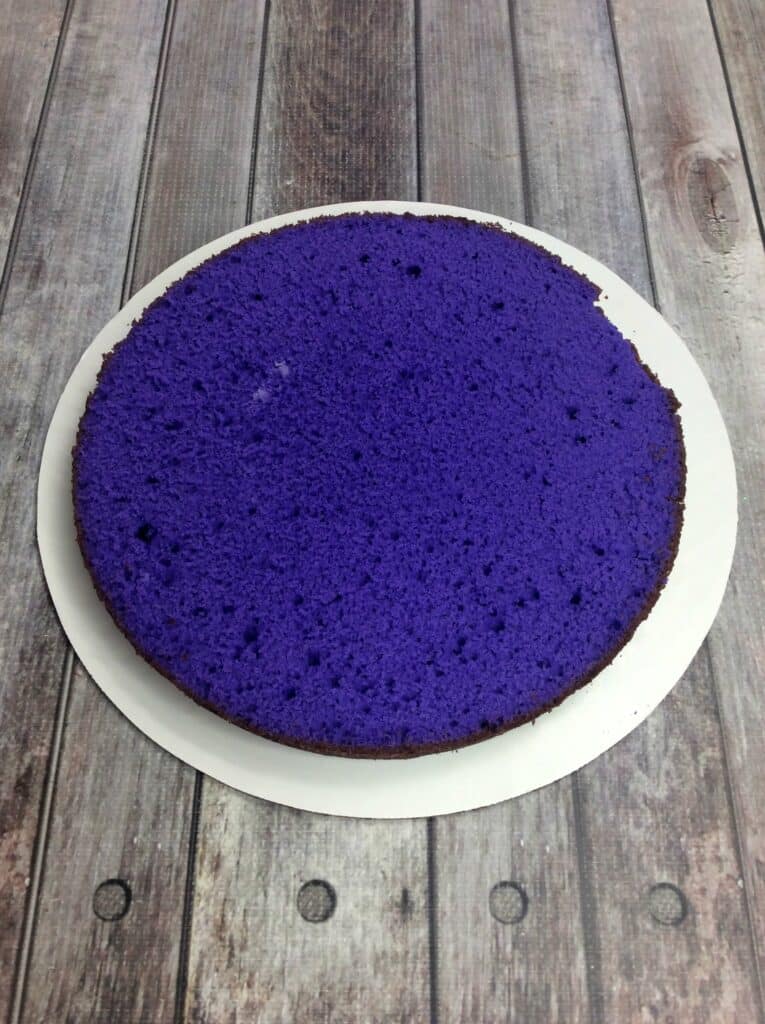
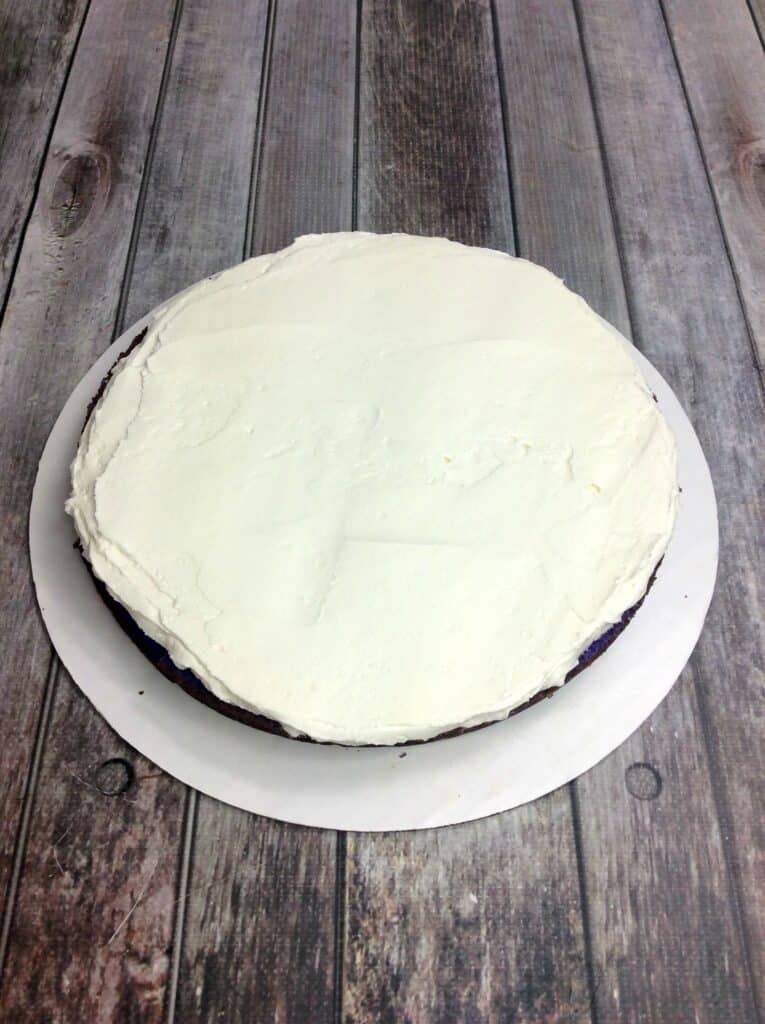
First, place the purple cake layer onto the cake board.
Then, using your ice cream scoop, scoop about 1 Cup of frosting onto the cake layer.
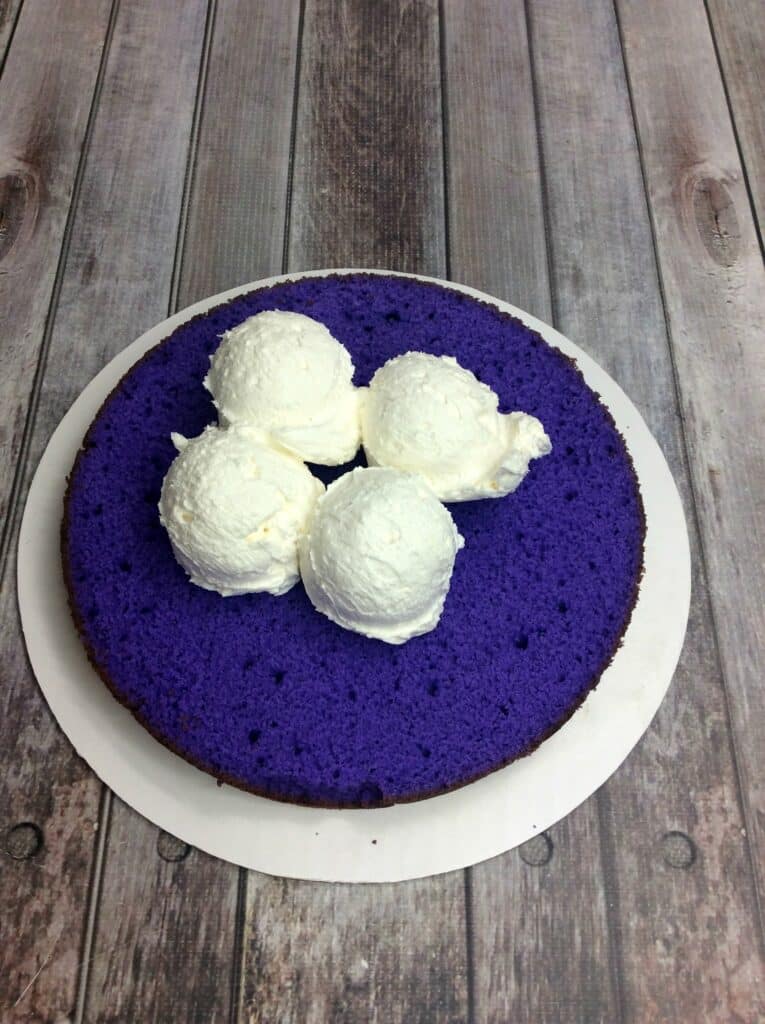
With your spatula, spread evenly, making sure to cover the entire top of the cake layer with frosting.
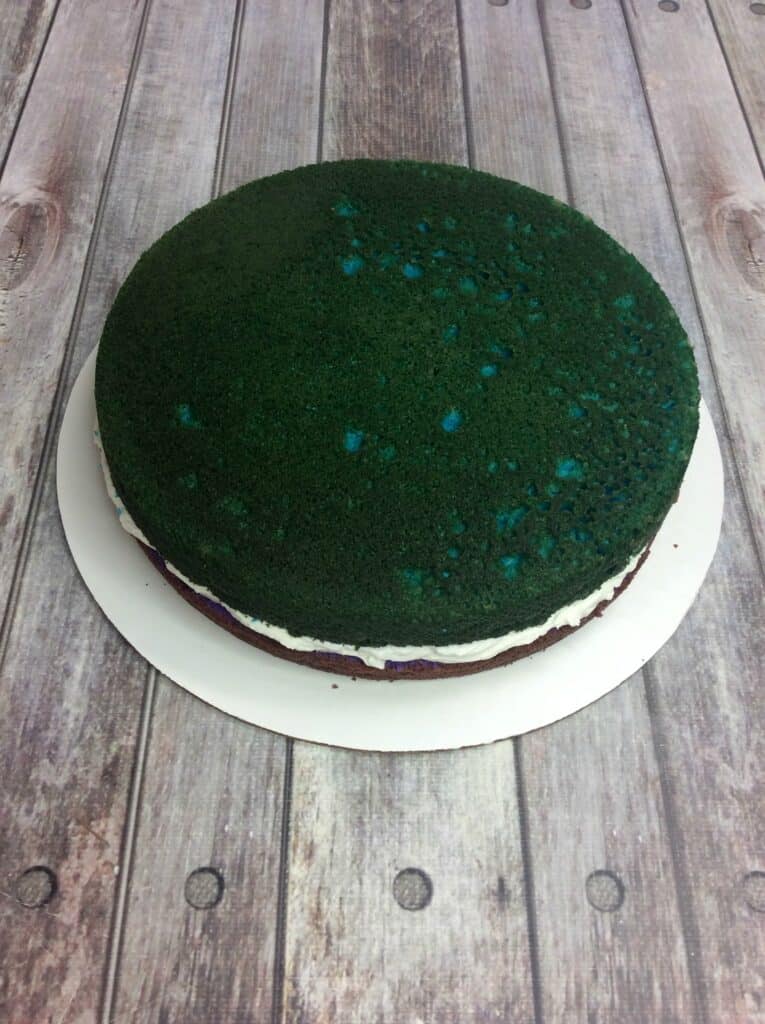
Place the blue cake layer on top of the frosting and, again, scoop 1 C of frosting onto the blue layer and spread evenly. Following the blue, place the green cake layer on top of the second layer of frosting. Scoop 1 C of frosting onto the green layer and spread evenly.
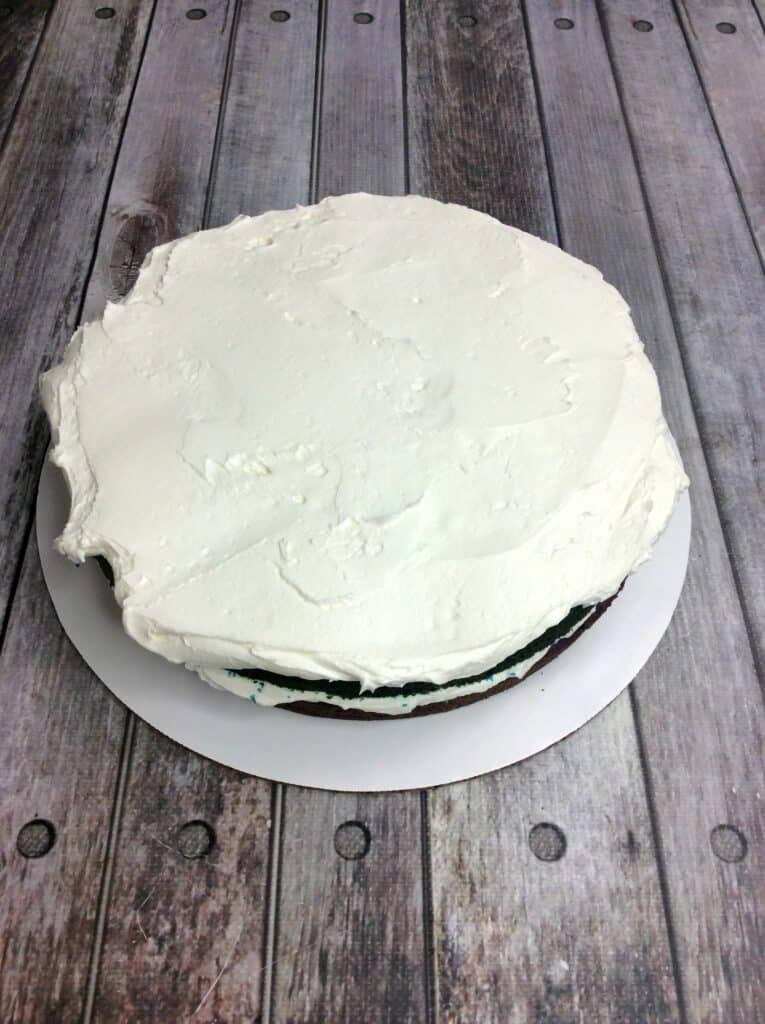
Repeat the previous steps with the Yellow, Orange, and Red cake layers. Make sure you put the cake layers in the order of Purple, Blue, Green, Yellow, Orange, and Red, as the final layer of the rainbow cake, on the top. This top layer does not need white frosting.
Next, Scoop 2 C of the frosting into a medium bowl and mix in until combined several drops of black food coloring. Scoop the black frosting into the piping bag fitted with a medium star tip.
Scoop 1 C of the frosting into a small bowl and mix until combined several drops of gold gel food coloring until combined. Scoop the gold frosting into the piping bag fitting with a small star tip.
Using the remaining frosting in the mixing bowl, mix in a few drops of the Kelly green food coloring. Scoop all that frosting into the large piping bag fitted with the large star tip.
Decorating Your Rainbow Cake
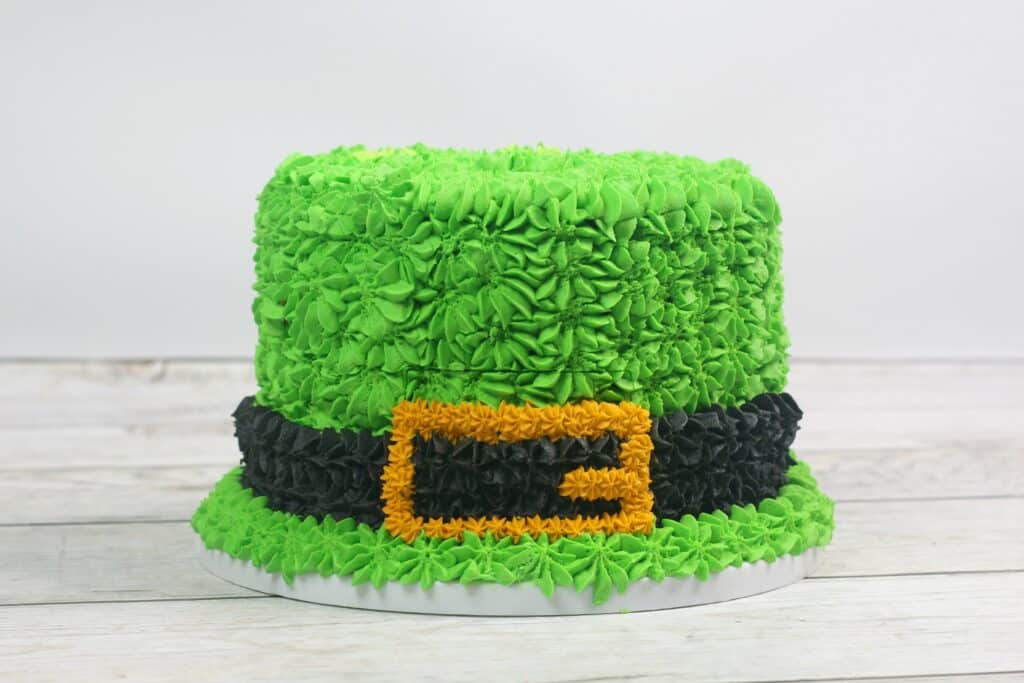
Start by placing the frosted rainbow cake onto your serving board. Using the green frosting, pipe an edging around the bottom of the cake board to create the brim part of the hat. Bring it all the way to the edge of the serving board. This will not necessarily be directly on the cake but gives the cake a hat shape.
For the black frosting, pipe the black belt all around the hat, just above the brim. Three stars high should be thick enough, but do what looks good to you.
Grab your green frosting again, and pipe dollops of green frosting all over the cake until completely covered.
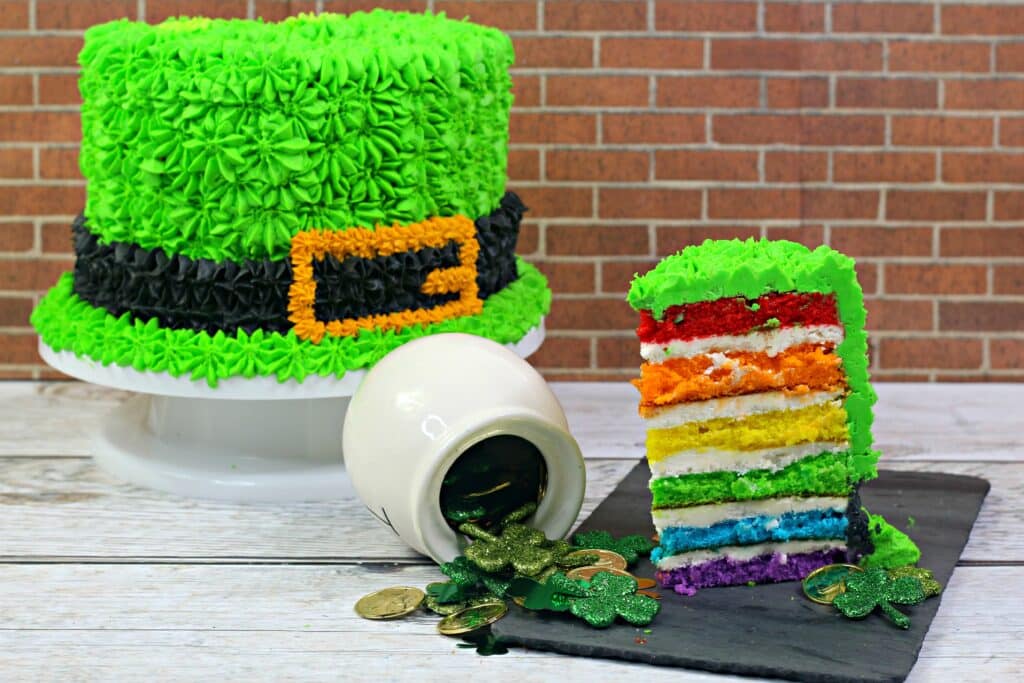
Using the Gold frosting and small star tip, pipe the buckle in the front and center of the black belt on the cake. You can use the image below as a guide or create your own leprechaun hat design. Have fun!!
Adorable! Snap a pic of your St. Patrick’s Day Rainbow Cake to remember your creation because it’s not going to last long. Yum!
Place the rainbow layered cake in the fridge overnight to get a clean cut for future slices.
Enjoy your St. Patrick’s Day Rainbow Cake!
St Patrick’s Day Rainbow Cake
Description
Adorable treat for St. Patrick’s Day! Easy enough to get the kids involved and make memories.
Ingredients
- 3 boxes of French vanilla cake mix
- 3 C cold whole milk
- 9 large eggs
- 1 1/2 C unsalted sweet cream butter, softened (3 sticks)
- 6 – 9inch round cake pans
- 6 – 12 inch round cake board
- Red, Orange, Yellow, Green, Blue and Purple food coloring
- Pam baking spray
- 6 medium size mixing bowl
- Cake leveler
For the Vanilla Frosting
- 3 C unsalted sweet cream butter, softened
- 8 C powdered sugar
- 3 tsp pure vanilla extract
- 5 tbsp heavy whipping cream
- Kelly Green Gel Food Coloring
- Black Gel Food Coloring
- Gold Gel Food Coloring
- 3 disposable piping bags, 1 fitted with a large star tip, 1 fitted with a medium star tip and 1 fitting with a small star tip
- 1 medium ice cream scooper
Instructions
- Preheat oven to 350 degrees and spray the cake pans with baking spray.
- In a large mixing bowl, mix together cake mix, milk, eggs, and butter until combined and smooth.
- Split the batter evenly between the 6 mixing bowls.
- Add in a few drops of color into their own bowls.
- Mix until colors are combined.
- Pour the red batter into one cake pan.
- Pour the orange batter into the second cake pan.
- Pour the yellow batter into the third cake pan.
- Repeat steps with remaining colored batter and cake pans.
- Bake the pans in the preheated oven for 21-25 minutes or until a tooth pick comes out clean.
- Allow cakes to cool completely on the counters.
- Using the cake leveler, cut the domes off of the cakes to create even slices.
- Using a standing mixer, beat together all ingredients until smooth and stiff peaks form, about 5-7 minutes.
- Place the purple cake layer onto the cake board.
- Scoop about 1 C of frosting onto the cake layer and spread evenly.
- Place the blue cake layer on top of the frosting.
- Scoop 1 C of frosting onto the blue layer and spread evenly.
- Place the green cake layer on top of the second layer or frosting.
- Scoop 1 C of frosting onto the green layer and spread evenly.
- Repeat steps with the Yellow, Orange and Red layer. Make sure you put the cake layers in the order of Purple, Blue, Green, Yellow, Orange and Red.
- Scoop 2 C of the frosting into a medium bowl and mix in until combined several drops of black food coloring.
- Scoop the black frosting into the piping bag fitted with a medium star tip.
- Scoop 1 C of the frosting into a small bowl and mix until combined several drops of gold gel food coloring until combined.
- Scoop the gold frosting into the piping bag fitting with a small star tip.
- Using the remaining frosting in the mixing bowl, mix in a few drops of the Kelly green food coloring.
- Scoop all that frosting into the large piping bag fitted with the large star tip.
- Place the frosted rainbow cake onto the serving board.
- Using the green frosting, pipe an edging around the bottom of the cake board to create the bottom part of the hat.
- Using the black frosting, pipe the belt buckle all around the hat.
- Using the Green frosting again, pipe dollops of green frosting all over the cake until completely covered.
- Using the Gold frosting, pipe the buckle in the front and center of the black belt on the cake.
- Place back into the fridge overnight to get a clean cut.
Notes
Place in the fridge overnight to get a clean cut for future servings.
Enjoy!
You might like these St. Patrick’s Day recipes as well!
St. Patrick’s Day Thumbprint Cookie