Christmas Chocolate Wafers

By the time December rolls around, if you’re a typical homeschool parent, you’re probably juggling end-of-term work, a plethora of holiday plans, and the daily question of what everyone is going to eat … again. The last thing you need is another complicated project with specialty ingredients and a three-hour cleanup.
That’s why these Christmas chocolate wafers are such a win.
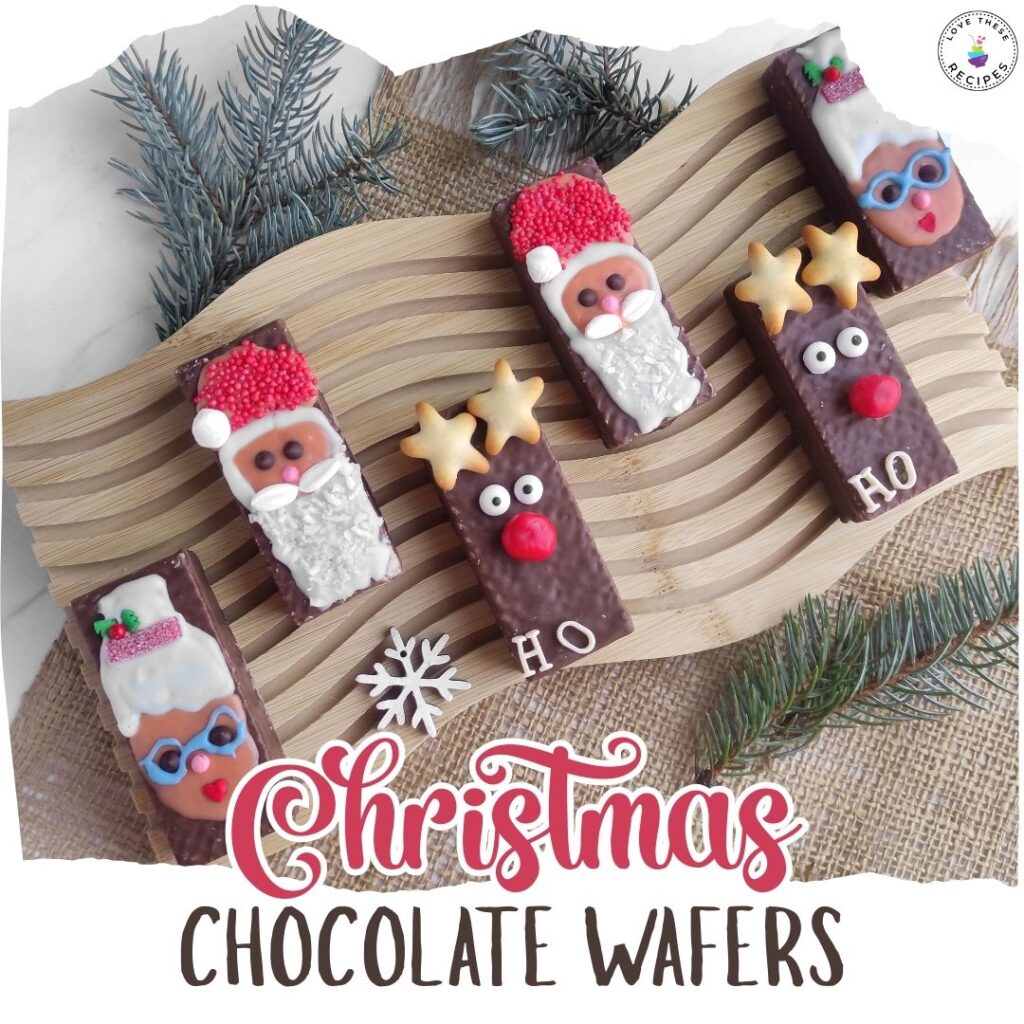
These Christmassy characters look festive, feel creative, and give kids something hands-on to do in the kitchen—but they’re also refreshingly simple. No baking. No fancy techniques. Just melting chocolate, sticking things together, and letting kids be as detailed (or not) as they want.
Think of this less as a “recipe” and more as an edible craft that doubles as dessert.
Why This Works for Homeschool Families
- Minimal prep: You’re starting with store-bought chocolate bars or wafers.
- Flexible: Younger kids can sprinkle and place decorations; older kids can design faces and characters.
- Low stakes: There’s no “ruining” this. (Even messy Christmas chocolate wafers are still chocolate.)
- Multi-purpose: Snack, dessert board centerpiece, or homemade holiday gifts.
It’s also easy to turn this into a quick art lesson or seasonal activity—designing faces, discussing holiday symbols, or just practicing fine motor skills without anyone realizing it counts as school.
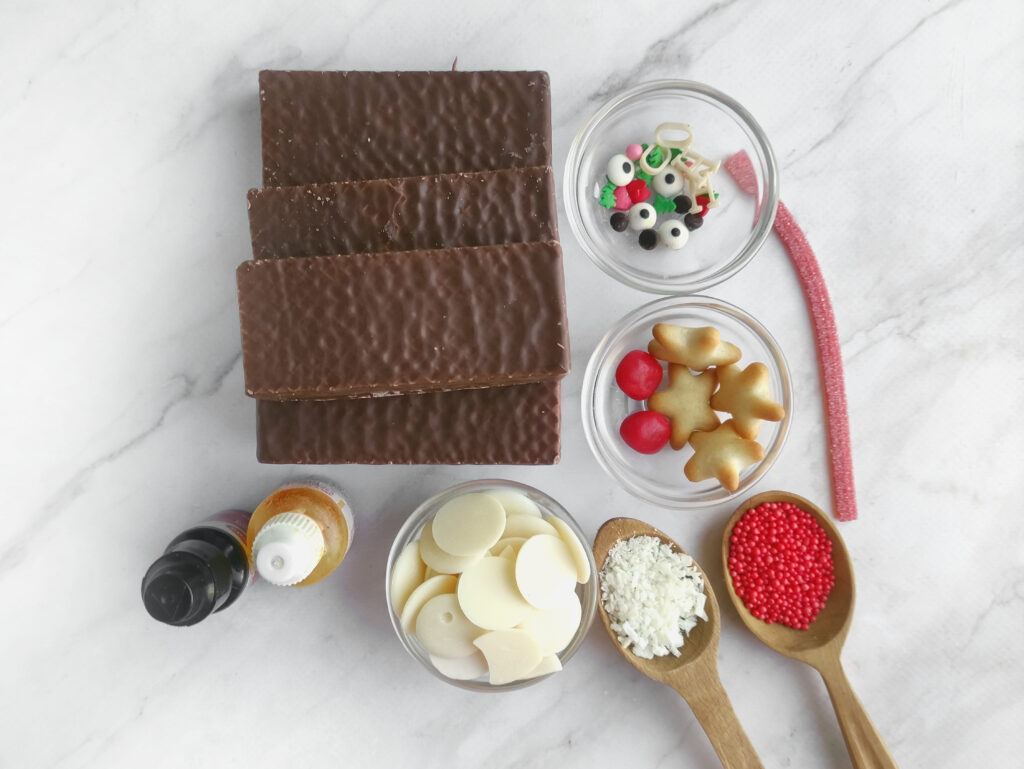
Ingredients for Christmas Chocolate Wafers
You don’t need all of these—use what you have and improvise.
- 3 candy bars or large chocolate wafers
- 1/3 cup white chocolate chips
- Food coloring (optional)
- 8 chocolate chips
- 2 red candy drops (for Rudolph’s nose)
- 4 graham crackers (broken into antlers)
- 4 googly eyes (or chocolate chips if you prefer edible-only)
- 1 tablespoon red sprinkles
- Sugar letters
- Assorted sprinkles (balls, trees, hearts, mini marshmallows, coconut flakes, ribbon candies)
Instructions for Making Christmas Chocolate Wafers
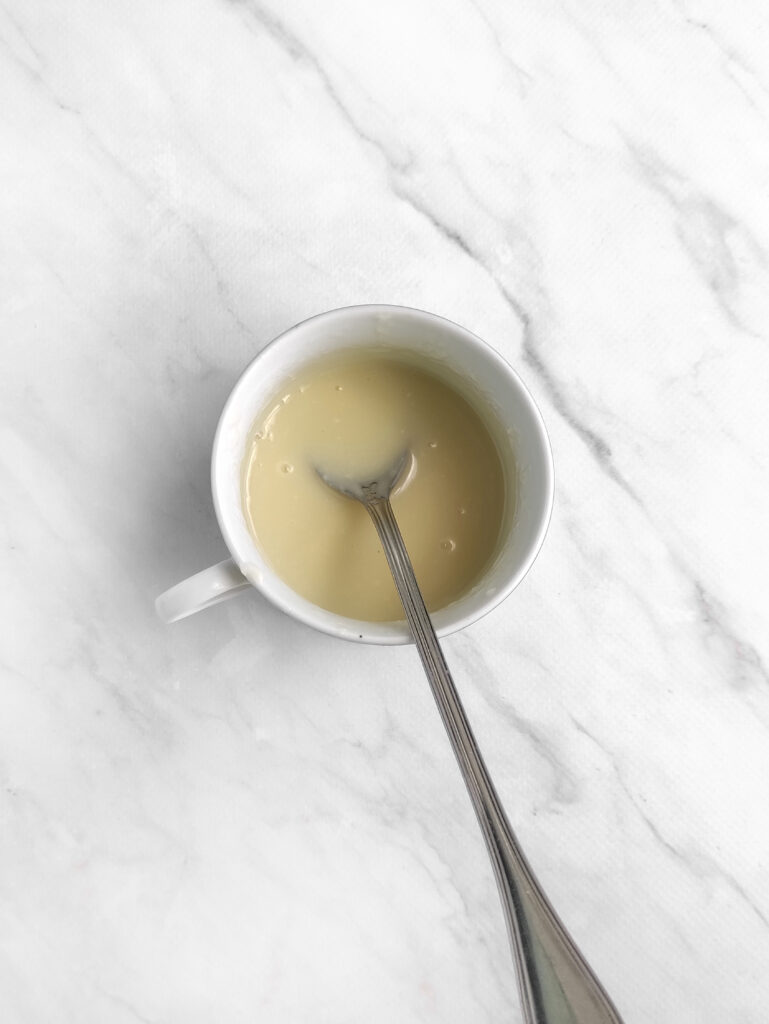
- Melt the white chocolate.
Place the white chocolate chips in a microwave-safe bowl and melt in short bursts, stirring until smooth. You’re aiming for a thick but pourable consistency—similar to condensed milk. Spoon it into a piping bag or a zip-top bag with the corner snipped. - Prep your characters.
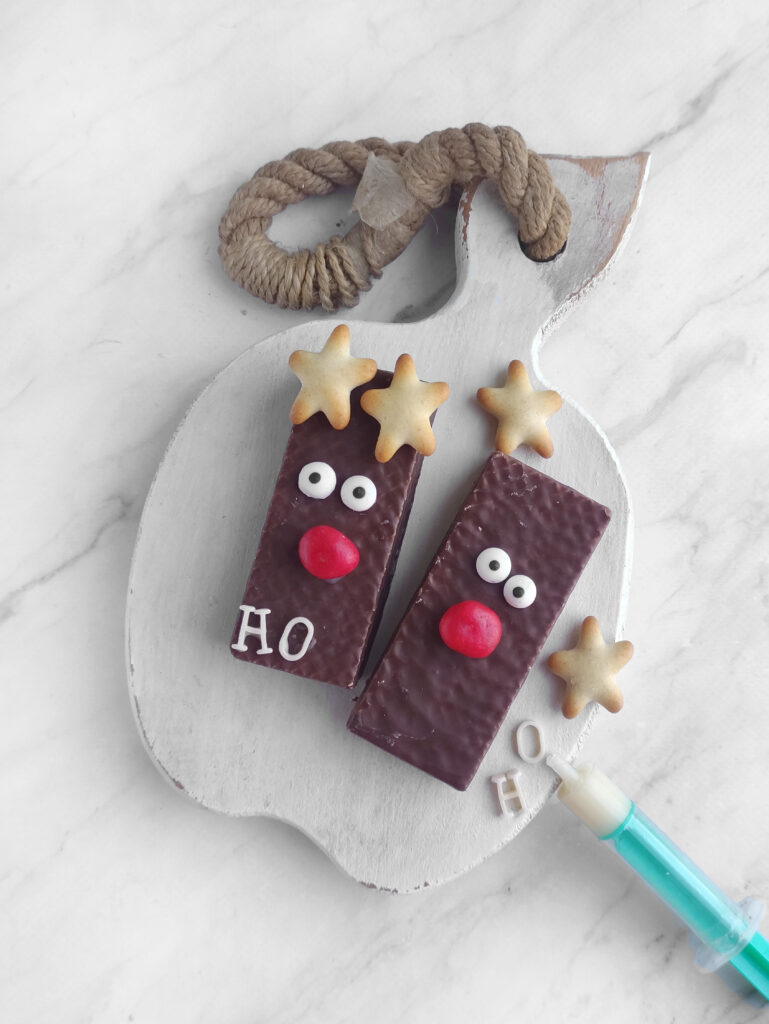
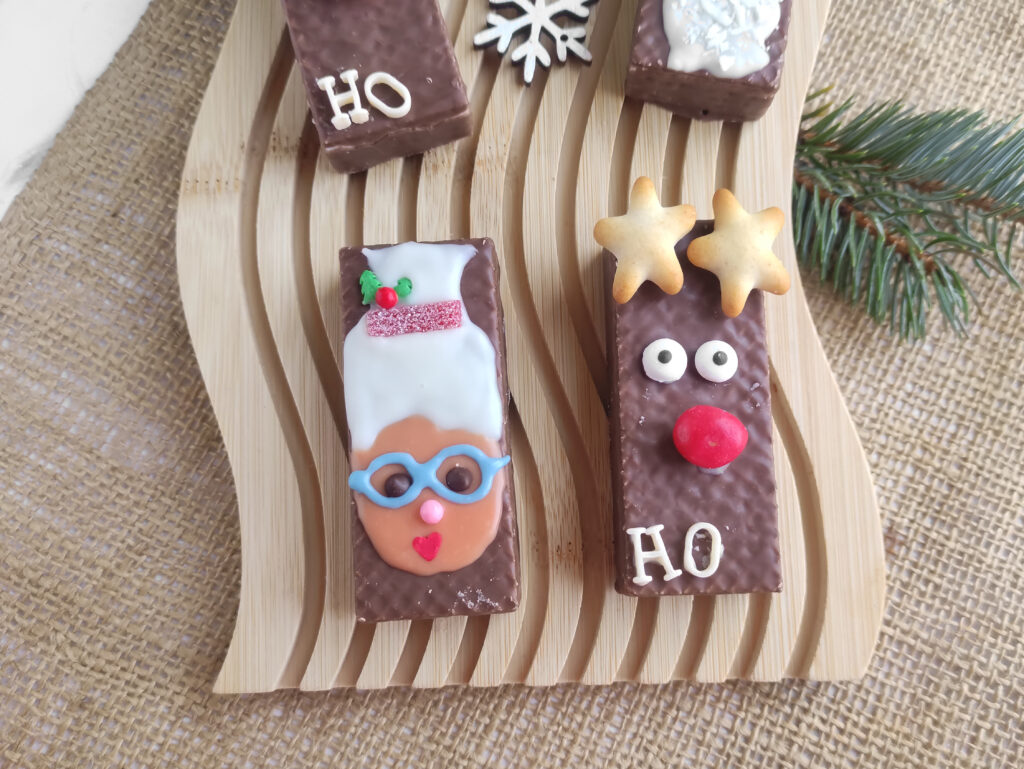
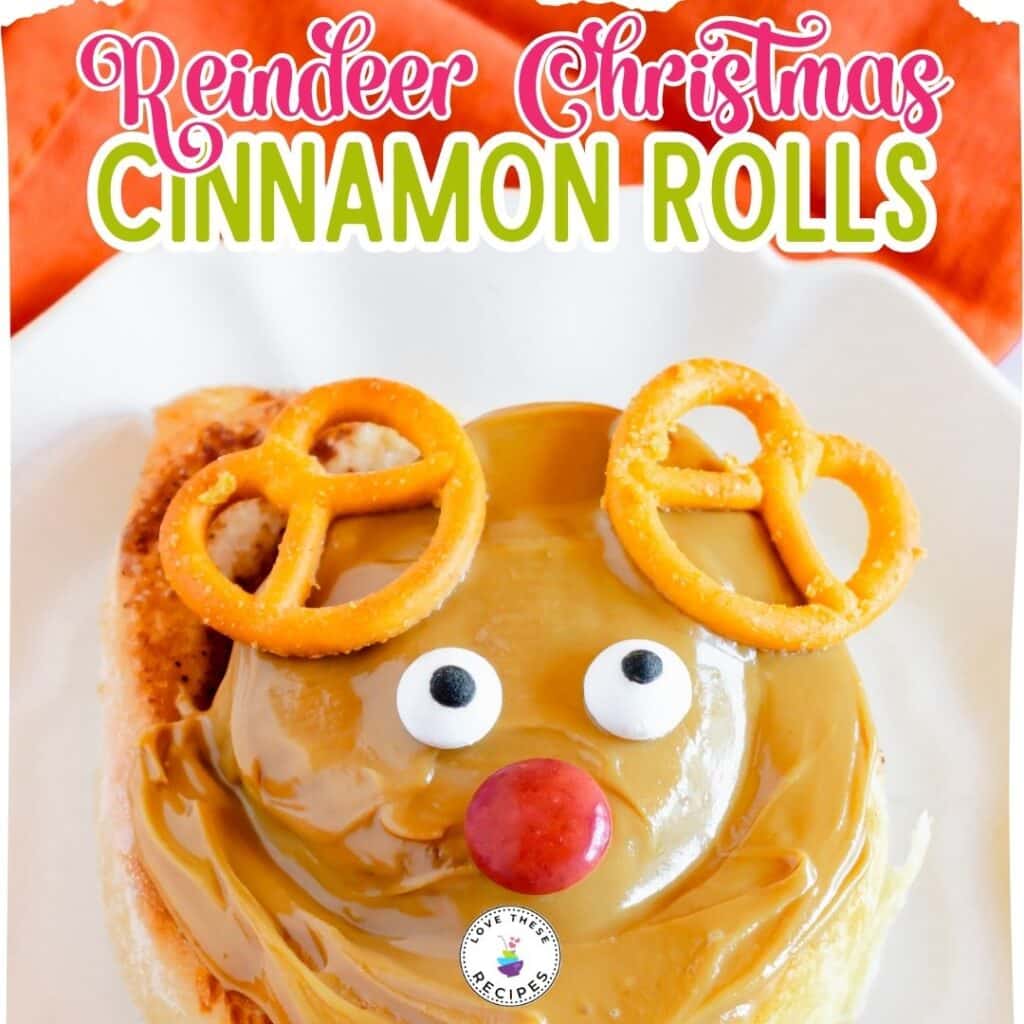
Lay the chocolate bars or wafers on a cutting board or parchment-lined tray. This is where you decide who’s who—Santa, Mrs. Claus, Rudolph, or your own invented holiday characters. - Rudolph:
Use melted white chocolate as “glue” to attach eyes, a red candy nose, and graham cracker antlers. Pipe a little chocolate onto sugar letters if you want names or words. - Santa:
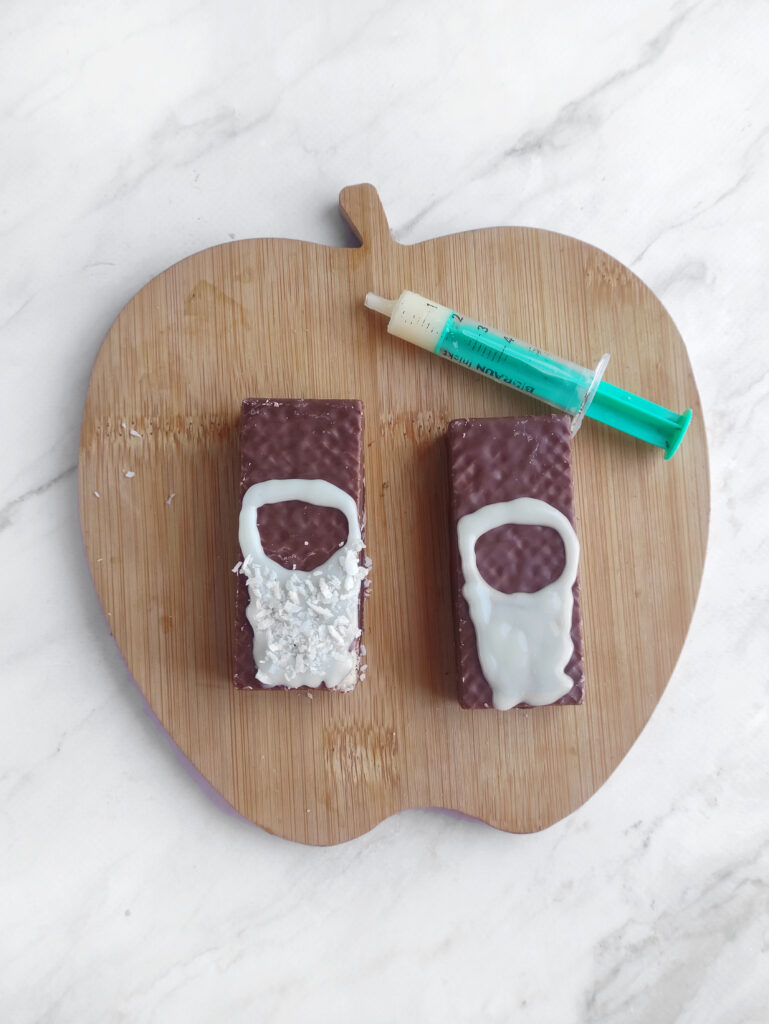
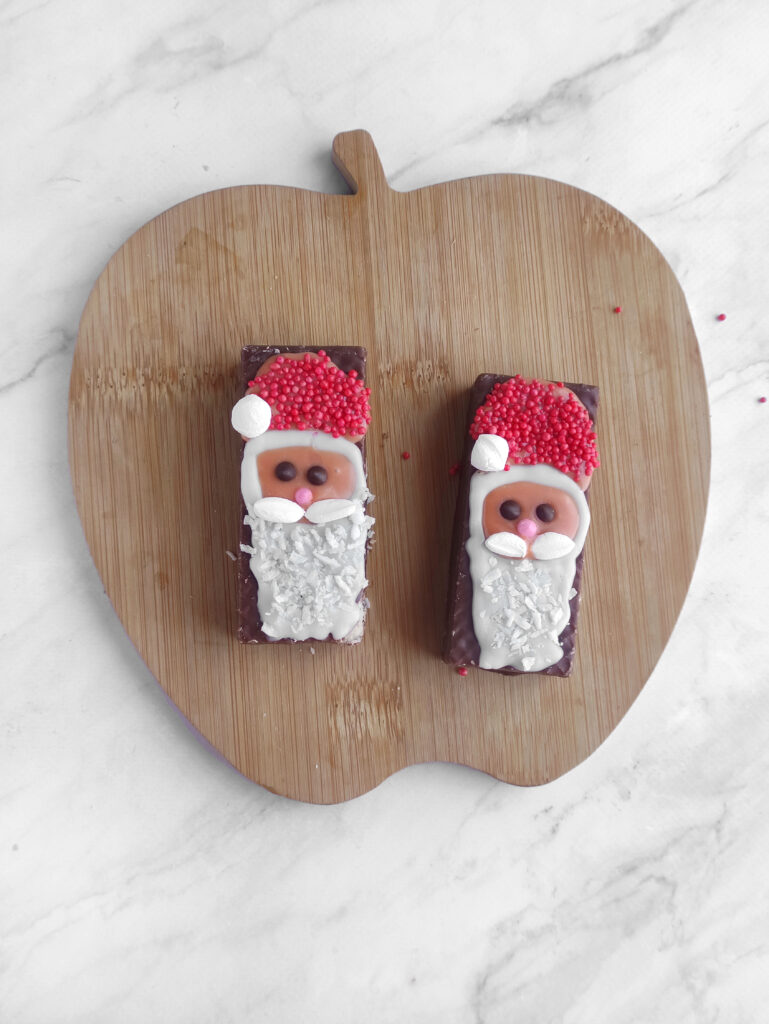
Pipe white chocolate in the center of the bar to create a beard shape. Sprinkle with coconut flakes for texture. Let it set slightly before adding facial features. - Mrs. Claus:
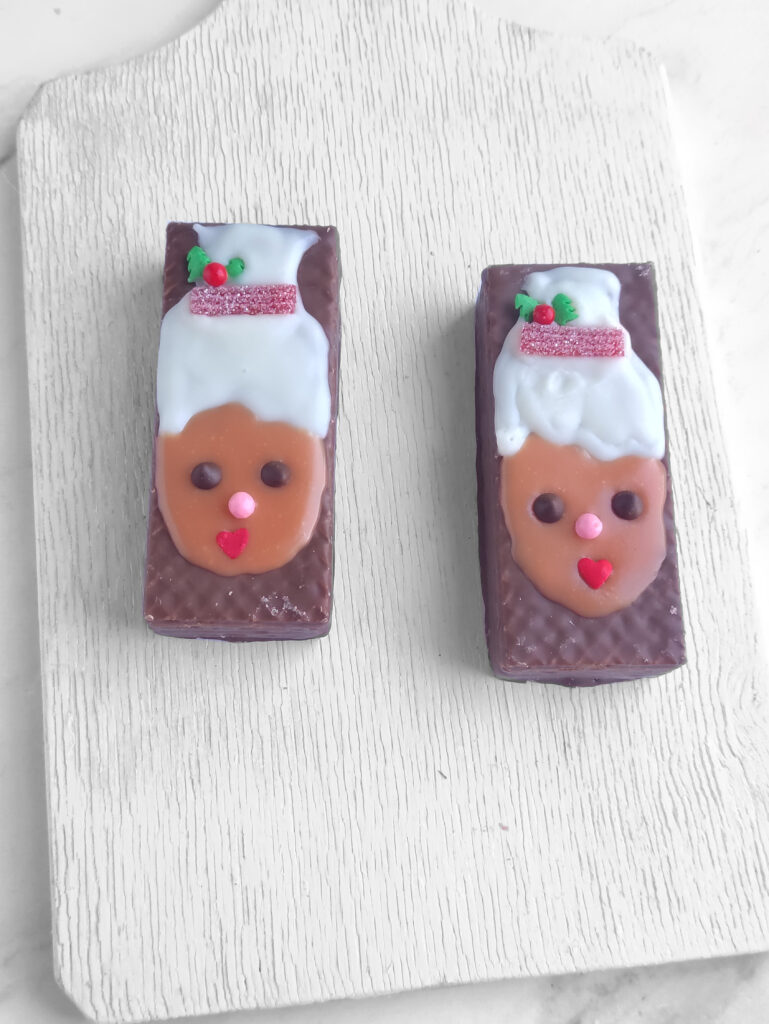
Pipe white chocolate for hair and let it set. If you want a face, tint some white chocolate beige with food coloring and draw it on. Add eyes and a mouth while still wet. Once set, pipe glasses over the top. - Final details:
Use marshmallow pieces for mustaches, red sprinkles for hats, chocolate chips for eyes, and whatever sprinkles make your kids happy. Let everything set fully before moving.
Serving and Gifting Ideas
- Arrange the finished Christmas chocolate wafers on a Christmas dessert board with fruit and cookies
- Serve alongside hot chocolate or coffee
- Wrap individually in clear treat bags for gifts or party favors
- Pack them up for a homeschool co-op gathering or holiday get-together
A Final Note for Tired Parents
This is not meant to be Pinterest-perfect. Let these Christmas chocolate wafers be a little chaotic. Let the faces be crooked. Let the kids take ownership—even if that means Santa ends up with purple hair and three eyes.
It’s chocolate. It’s festive. And it checks the box for something creative without taking over your whole day. If that’s not a homeschool holiday win, I don’t know what is.
More Christmas Recipes for the Whole Family

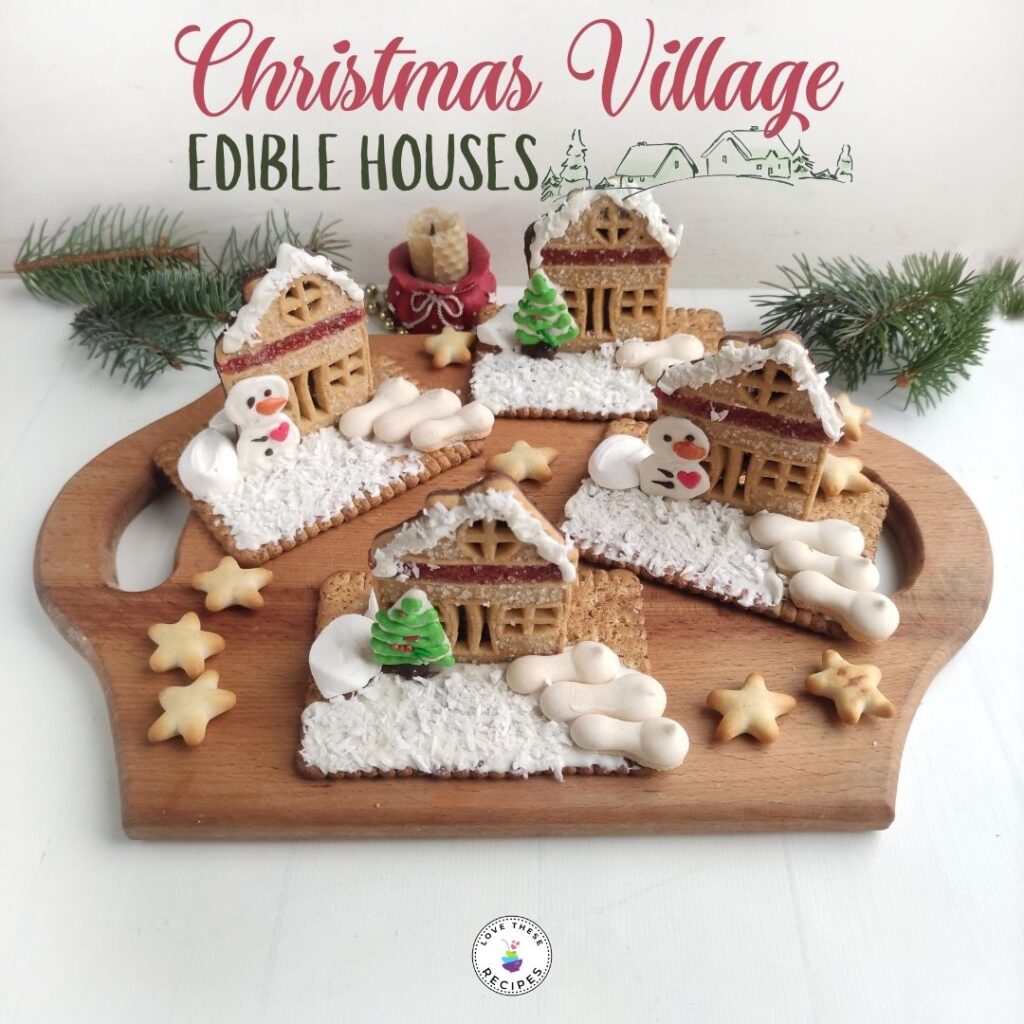
Edible Christmas Village Houses
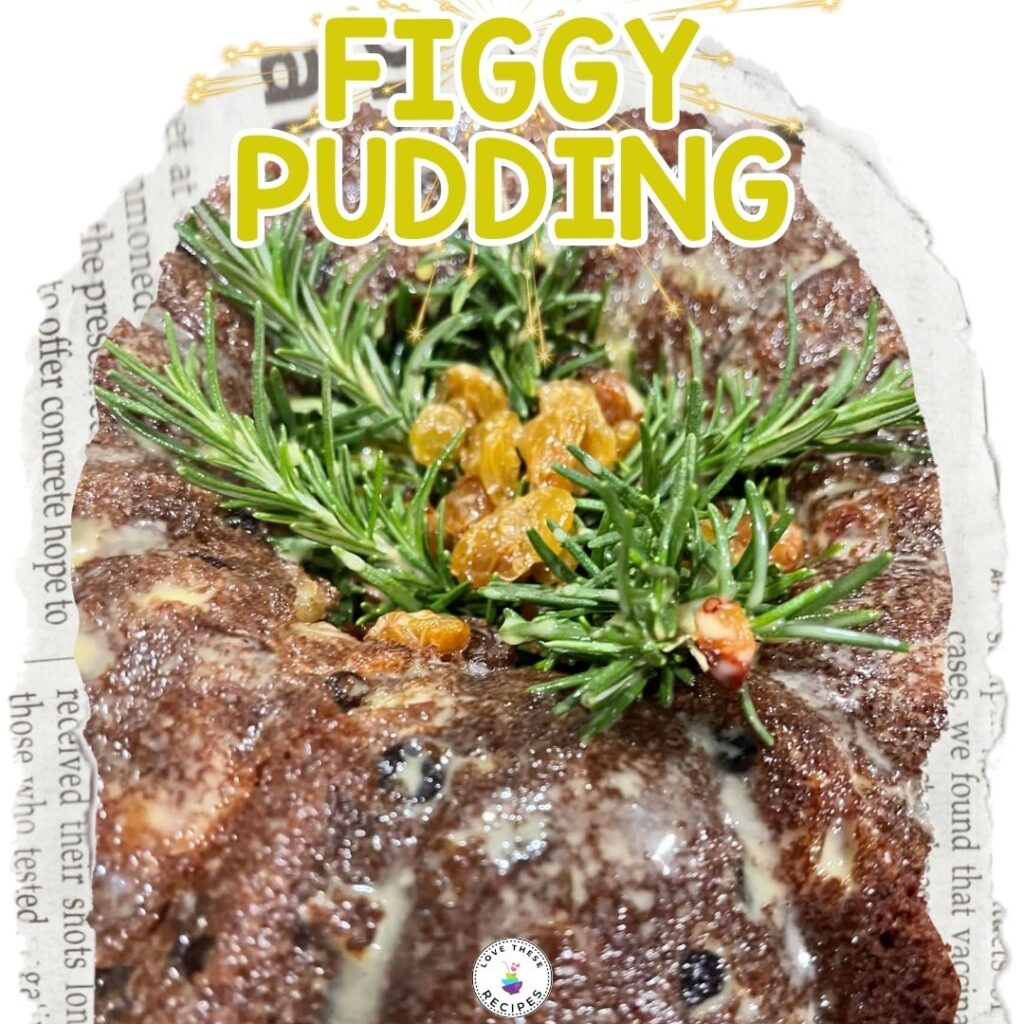
Christmas Figgy Pudding (and A Christmas Carol Learning Activities)