Make Your Own Sushi at Home

The season of potlucks, parties, and summer fun is here! My cold-weather go-to recipes are things like stew, soup, and casseroles, but in the summer, it’s nice to have easy recipes that don’t heat up the kitchen by having to stick them in the oven. Make your own sushi at home is a perfect summertime solution!
It’s also a fun recipe to take to potlucks or serve at parties. And because this is a nontraditional recipe (meaning, no raw fish), you don’t have to worry about any possible health issues preparing raw fish for guests.
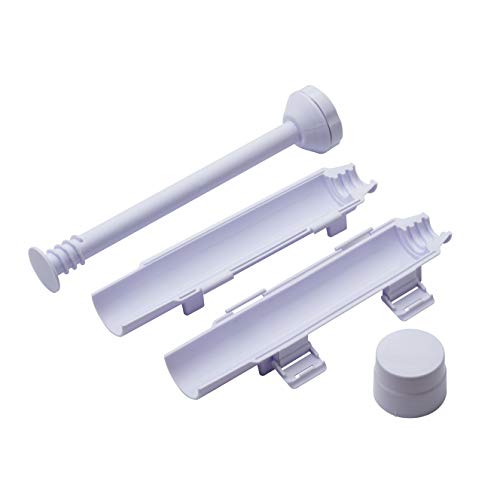
You will need a sushi roller to make your own sushi at home. It’s so much fun, and once you try it for your family, you might find that Make Your Own Sushi(ish) night becomes one of your favorite meals for using up extra fruits and veggies.
Note that this is not a traditional sushi recipe. This is for moms who might not trust themselves with preparing raw fish (or who think touching raw fish is icky). In this recipe, you can stick to vegetables and fruits in your sushi.
It may not be traditional, but it is still super yummy and a great way to get kids (and you!) to eat those fruits and vegetables.

How to Make Your Own Sushi
Having a Make Your Own Sushi Night is really fun and easy. All you need to do is prepare the sushi rice, slice up your extra fruits and vegetables into nice thin strips, and pick up some seaweed wraps.

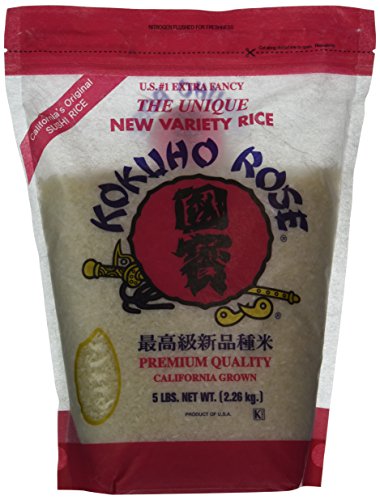
When preparing your sushi rice you can follow the directions on the bag for traditional sushi rice, or follow my recipe (below) for a slightly sweeter rice that goes great with fruit.

Once all of your rice is prepared and ready, you simply fill both sides of the sushi roller/mold with rice, leaving a slight valley in the middle of each side.
Line up with fruits and vegetables of your choice, careful not to overfill, close up the sushi mold, lock the end cap, and twist the handle to compress your sushi.

Once your sushi is compressed, you simply transport it onto a piece of seaweed and roll the seaweed around your sushi. Seal the end of the seaweed with a little bit of water and set the sushi on a large plate.
It works best if you wait and only try cutting the sushi after it has a chance to set in the refrigerator for about 20 minutes.

I think what I like best about Make Your Own Sushi Night is that it gives everyone in the family a chance to be creative. A chance to try mixing any variation of fruits and vegetables they would like.
If you want to expand your cuisine experience into a greater learning experience, you might choose to read a book about sushi, and then give your kids the opportunity to make their own. A terrific sushi book is, First Book of Sushi (Word Snacks).
I hope you and your family enjoy Make Your Own Sushi night!


Coconut & Pineapple Sushi Rice
Ingredients
- 3/4 Cup Sushi Rice
- 3/4 Cup Coconut Milk
- 1/4 Cup Pineapple Juice
Instructions
- In a sauce pot combined sushi rice, coconut milk, and pineapple juice.
- Bring to a soft boil, reduce heat and cover pot.
- Allow to simmer for 10-20 minutes until liquid is absorbed.
- Turn off heat, and allow the rice to sit for an additional 10 mins.
- Add 1/2 teaspoon of rice vinegar and fluff rice with fork.
More Fun Summertime Recipes
Check out these healthy recipes that will be ideal for preparing during the summer months!